Friday, September 27, 2013
My 1,000th post - Pumpkin Gingersnaps
First of all I just wanted to point out that this is my 1,000th post. Wow. Well for me it's a wow. My first post was way back in 2007 and the first recipe I posted was for Honey Wheat Bread. Can I just say my blog looked pitiful and my photography was horrendous. Geesh. I have come a long way. Hitting this milestone kind of ties into what I'm going to talk about next.
You hear people talk about having a mid-life crisis right? Or you hear stories about how so-and-so left so-and-so and took up with a younger partner, or how the old guy down the street suddenly decided to buy a sports car that he looks ridiculous in. I never really thought that much about the whole mid-life crisis at all, up until now and I can't even say that it describes what I'm feeling. I'm almost 50 and I've been at the same company for 30 years and I have to admit, I'm growing a little tired of it all. I'm having thoughts of leaving and living the life I want to live. Isn't that what everyone wants?
There are so many things I want to do. I have made so many lists and I have to tell ya, I'm not crossing a lot off them. Everything is crammed into vacation days or long weekends. I'm not feeling at peace with myself at all. I've got a difficult new co-worker that is really throwing a monkey wrench into what I used to call I job I loved. I don't love it anymore.
I've gone back and forth with thoughts of monetizing the blog. It's really not something I want to do. I'm such a minimalist when it comes to this kind of stuff. I don't want it to take up too much of my time. I don't like the look of all the ads. I could go on and on, and I have in the past, but I think I might have to give it a go and see what happens. Now if I only had the time to look into it more! See what I mean??
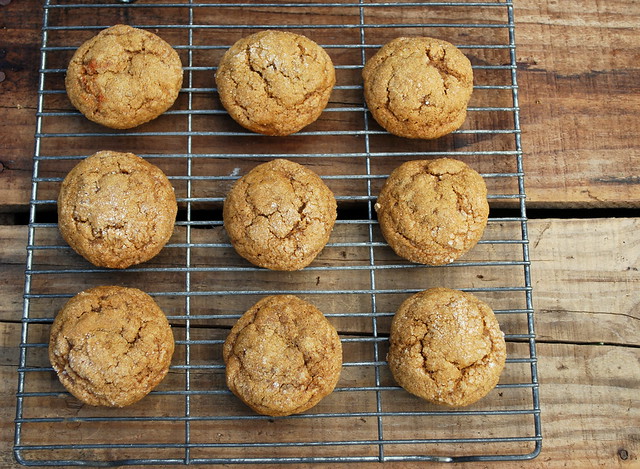
So I'm trying to work things out in my head. Hang in there with me. Meanwhile, I'm still making cookies. Phenomenal cookies too. Baking always brings me a certain sense of calm and peace. Cookies in particular are always a joy for me to make. I love mixing all the ingredients in a big bowl, I love scooping the dough out, I love rolling little balls of goodness in sugar, I love how the house smells and I love giving someone a warm cookie straight from the rack.
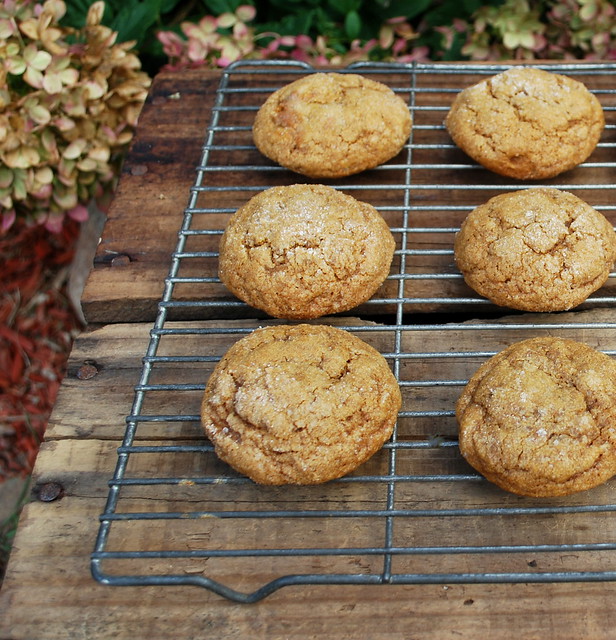
I love gingersnaps. The pumpkin in these just takes it to another level. They aren't too pumpkiny and they have just the right amount of molasses kick. This is a soft gingersnap. I think this one is making it onto my Christmas cookie list.
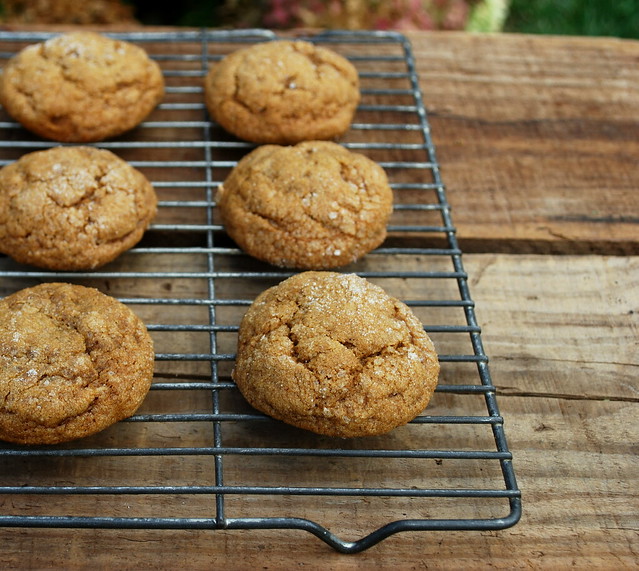
Pumpkin Gingersnap Cookies
recipe from Two Peas in Their Pod
½ cup butter (1 stick) at room temperature
1 cup granulated sugar, plus more for rolling the cookies
½ cup pumpkin
¼ cup molasses
1 large egg
1 teaspoon vanilla extract
2 ½ cups all-purpose flour
2 teaspoons baking soda
2 teaspoons cinnamon
1 ½ teaspoons ground ginger
1 teaspoon ground cloves
½ teaspoon salt
In the bowl of a stand mixer, beat the butter and sugar together until creamy and smooth. Add in the pumpkin, molasses, egg and vanilla. Mix until combined.
In a medium bowl, whisk together the flour, baking soda, spices and salt. Add the dry ingredients to the wet ingredients and mix until just combined. Refrigerate the dough for a least 1 hours or up to several days.
When you are ready to bake, preheat the oven to 350. Line a baking sheet with parchment. Place some sugar in a small bowl. Roll tablespoon-sized balls of dough in the sugar until well coated. Place on baking sheet about 2 inches apart. Bake for 10 – 12 minutes or until cookies look cracked and set at edges. The cookies will still be soft. Let them cool on the baking sheet for 2 – 3 minutes then transfer to a wire rack to cool completely.
Tuesday, September 24, 2013
Country Breakfast Apples & a Fall Giveaway
Fall is officially here, and I cannot contain my excitement any longer!!
This is my absolute favorite time of the year. I get giddy with thoughts of all the pumpkin and apple recipes I can make. Next week we'll head out for our annual apple picking day and then I'll spend the rest of that weekend canning up apple sauce and apple butter.
I can't wait to pull down all my fall decorations from the attic and hang my comfy sweaters back in the closet. Don't even get me started on Halloween!
So in honor of my favorite season I'm having a little giveaway.
Fall is also slow cooker season. What's better than filling up the crock up in the morning and uncovering something delicious and ready to eat at the end of the day?
Kendra Baily Morris sent me her cookbook The Southern Slow Cooker: Big-Flavor, Low-Fuss Recipes for Comfort Food Classics. It's loaded with so many delicious slow cooker recipes! She kindly offered up another book to one of my followers. You'll have your slow cooker cooking away all fall and winter long!
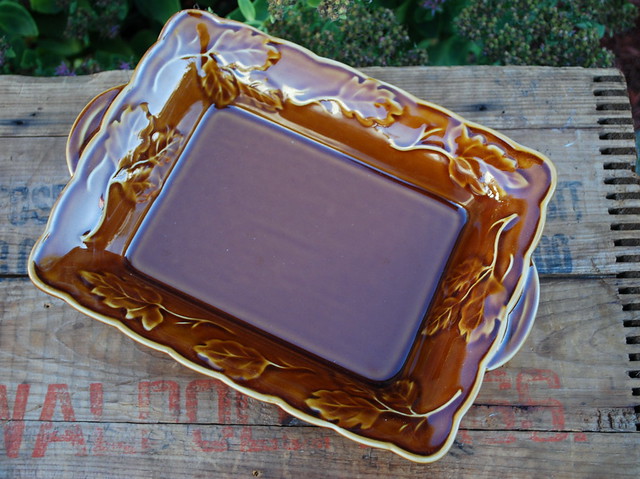
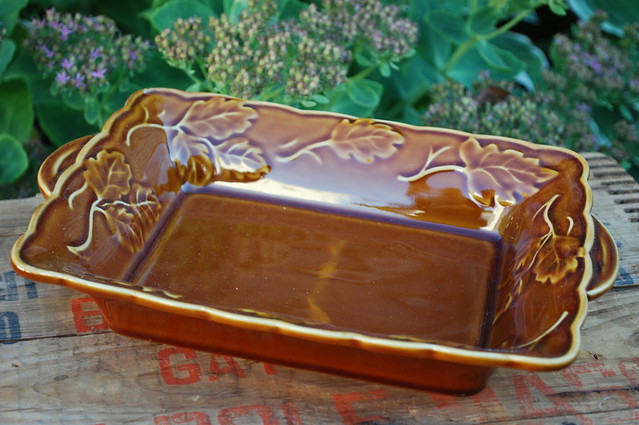
I also picked up this beautiful serving dish that just screams fall. Can't you see this on your Thanksgiving table? Details to follow below.
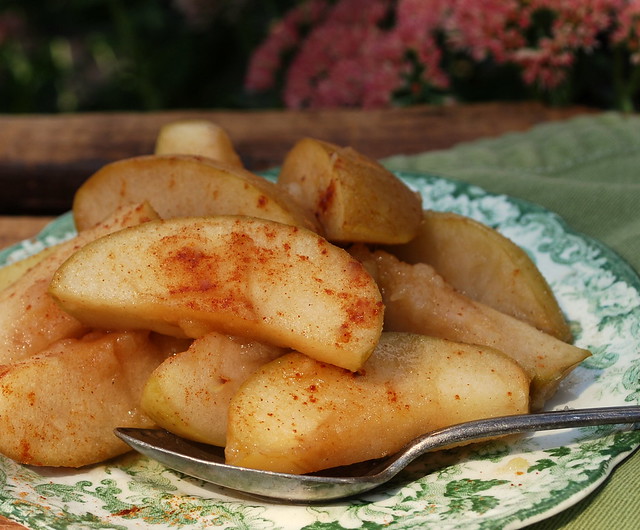
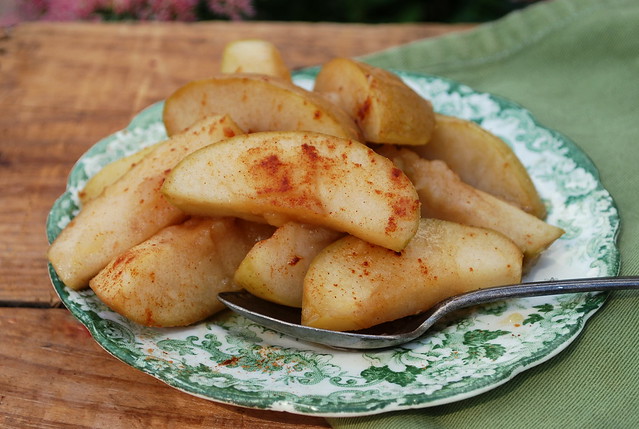
I couldn't look through this cookbook and not make something from it. I chose to make the Country Breakfast Apples. They were so delicious. They aren't just for breakfast either. I served them with a nice country ham that I baked over the weekend. I could become addicted to them for sure. I love the fact that you don't have to peel them either. Such a time saver.
So, how can you enter to win?? One lucky winner will win the cookbook and the serving dish. Here's what to do:
Just let me know what is your most favorite thing about fall?
If you don't have a blog, please leave me email address to contact you (no email and I'll move on to the next name).
There are three ways to enter: (1) leave a comment on the blog (2) If you haven't already, go “like” The Cutting Edge of Ordinary on Facebook or (3) Already a fan? Just leave a comment here or on Facebook to let me know! Facebook comments will count as entries.
Giveaway ends on midnight Sunday, September 29th eastern standard time. Good Luck!
Country Breakfast Apples
recipe from The Southern Slow Cooker: Big-Flavor, Low-Fuss Recipes for Comfort Food Classics
Country Breakfast Apples
2 cups water
2 tablespoons fresh lemon juice
6 cups unpeeled, cubed yellow or green apples (1 ½ inch cubes) * see note
Sugar
In a large bowl combine the 2 cups of water and lemon juice. Add the apples to the water mixture and toss to coat. Drain the apples, reserving 1 cup of the mixture.
Spray the inside of the slow cooker with cooking spray. Add the apples, pour over the reserved cup of lemon water and gently stir. Cover and cook for 4 – 6 hours on low, or until the apples are tender.
During the last 30 minutes, add sugar to taste. I added cinnamon at this point too. Cover and continue to cook until the sugar has dissolved. Serve warm straight from the slow cooker. The cooked apples will keep up to 2 weeks in the refrigerator.
* I sliced my apples instead of using chunks. Either way, they are delicious.
Thursday, September 19, 2013
Sweet Bacon Pork Shots
Before I even begin to talk about this recipe I have to tell you that my husband was in absolute HEAVEN when I made these. He is a kielbasa lover and he is a bacon lover so these were just bliss to him.
I had seen these on a BBQ forum and showed him a picture. The first words out of his mouth were "OMG you have to make these for me". He then proceeded to ask me about them for the next 2 weeks. Yeah I kinda had him waiting a bit. I even bought the kielbasa and defrosted the bacon from the freezer and had them both sitting in the fridge, so every time he opened the door he's ask when I was making them. That was kinda mean.
Well Labor day rolled around and I had already planned food so he had to wait until the weekend after. That next Saturday I looked up a few different recipes for them and then decided to settle on my own variation.
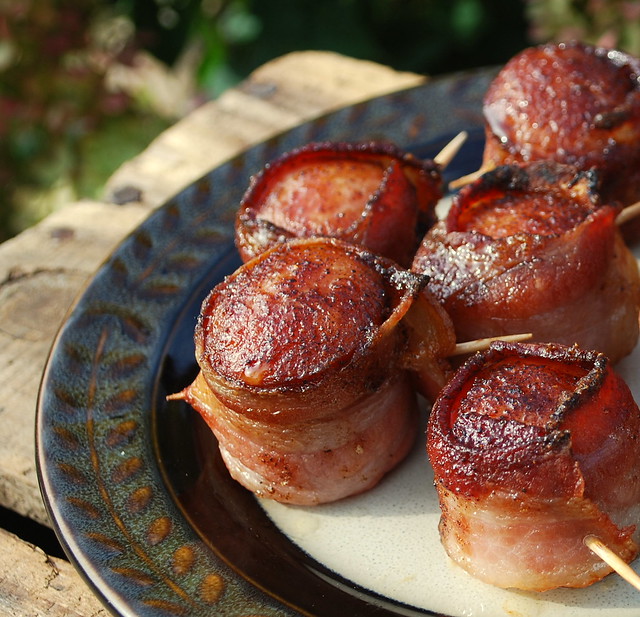
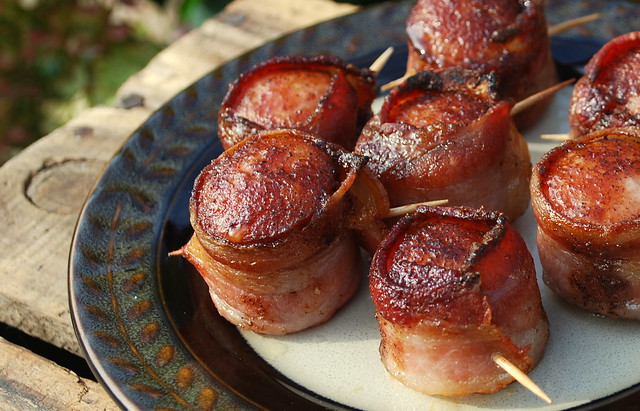
I cut the kielbasa in 1 inch chunks, wrapped them in bacon so that they top of the bacon was taller than the piece of kielbasa. That gives you a little space to fill it with goodness. Secured it with a toothpick, filled it with a brown sugar and chili powder mixture and baked them until the bacon was brown and crispy.
I used the same combination of brown sugar and chili powder that I use on my Sweet Bacon Chicken Wraps and Sweet Bacon Tater Tots. These were FANTASTIC!! So very, very good. They were gone in a flash too. Perfect football food too!
I'm guessing the name Pork Shots was used because they kinda look like a little porky shot glass??? I'm not sure on that one. They also referred to these as Pork Candy. Either one works for us! They are porky goodness at it's best!
John always says "everything is better with bacon". I'm beginning to think he's right.
MAKE THESE!
Sweet Bacon Pork Shots
adapted from a recipe at Smoking Meat Forums
1 pound bacon
2 packages of kielbasa cut into 1 inch pieces
2/3 cup packed brown sugar
2 tablespoons chili powder
Preheat oven to 425 degrees. Line a cookie sheet with foil and place a cooling rack on top of the pan. Spray the rack with cooking spray. This will allow the bacon to crisp on all sides and let any grease drip out onto the pan.
Cut the kielbasa into 1 inch pieces. Cut each slice of bacon in half. I used cutlery scissors and cut the whole package in half at once. Wrap each piece of bacon around the kielbasa, leaving a little room at the top so it can be filled. Secure with a toothpick. Place on the baking sheet.
Combine the brown sugar and chili powder and mix well. Place about a half a teaspoon on the top of each piece of kielbasa. The next time I make these I am going to double the brown sugar chili mixture and roll them in it and then top them with the same mixture. We love the taste of that combo.
Bake for 20 - 25 minutes or until the bacon is brown and crispy. Allow to cool a few minutes or you will burn your mouth. Trust us, we learned the hard way!
Monday, September 9, 2013
Chocolate Chip Pumpkin Crisp
Hello All!
Sorry I was gone so long. Life just catches up with you sometimes and you need a little break, so I took one. I was still cooking and baking, just nothing that I hadn't blogged before or anything that would really wow you all. I'm sure my chicken on the grill would have sent you all into a tailspin, lol.
I've been chilling out and enjoying life. We've been having friends over for dinner, spending time by the fire pit and doing a lot of grilling too. My hubby made my mother-in-laws famous baby back ribs for Labor Day. They are fall off the bone fantastic. I'm thinking I should blog those one of these days.
So my oldest is now a college student and my husband is taking a class at the same college. Tuesday and Wednesday nights I'll be without one of my men around the dinner table. It's going to be strange. I don't know where all the years have gone. It seems like just yesterday I was getting him ready for pre-school and now he's in college. Slow down life.
I'm thrilled beyond belief that September is here! I feel like my cooking comes alive in the fall. I'm all about soups and stews and casserole and hearty breakfasts. I've been hoarding some great recipes and I can't wait to share them.
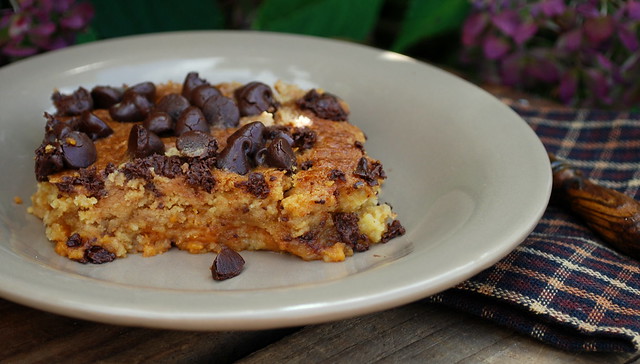
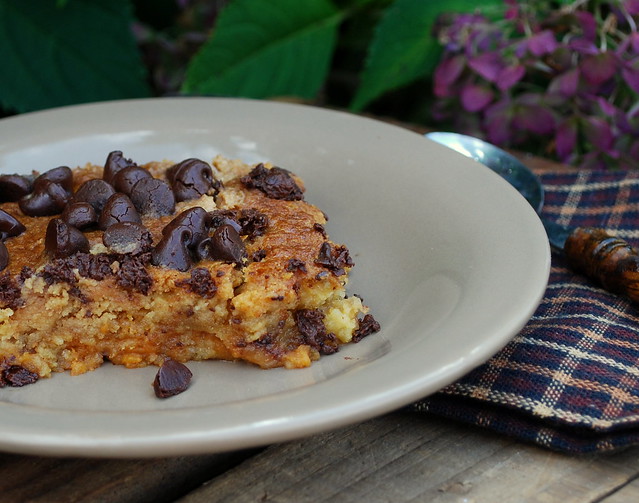
Here's my first one. Chocolate Chip Pumpkin Crisp. This is a variation on a pumpkin dump cake. The original recipe called for pecans and you can certainly use them if you love pecans, but my gang isn't fond of them so I chose to use chocolate chips instead. I love the combination of pumpkin and chocolate. It worked perfectly in this recipe.
The bottom layer is the consistency of pumpkin pie and the top layer is crunchy and chocolaty. It's not cake-like, it truly is crisp-like. So don't keep baking thinking that the bottom layer will firm up. It's supposed to be mushy (and delicious!).
Chocolate Chip Pumpkin Crisp
adapted from a recipe at Rachel Schultz
15 ounce can pumpkin
1 cup evaporated milk
1 cup sugar
1 teaspoon vanilla
1/2 teaspoon cinnamon
1/2 teaspoon nutmeg
1 package butter yellow cake mix (I used butter)
1 cup semi-sweet chocolate chips
1 cup butter (2 sticks), melted
Preheat oven to 350 degrees. Combine pumpkin, evaporated milk, sugar, vanilla, cinnamon, and nutmeg.
Grease a 9x13 dish. Pour the mixture in and then sprinkle the cake mix over pumpkin mixture in an even layer. Sprinkle the chocolate chips over the cake mix and then pour the melted butter evenly over the top, moistening the cake mix.
Bake for 70 to 8- minutes or until golden brown. Mine only took 70 minutes.You can serve this with freshly whipped cream, but we ate it as is. Delicious!
Subscribe to:
Posts (Atom)