Happy Halloween!
I can't wait to see the little one's lining up at the door tonight. I have a sneaking suspicion that I'm going to see a lot of Elsa's and Olaf's tonight!
I loved trampsing around the neighborhood when the kids were little, but I missed answering the door. Now that the kids are big and don't trick or treat anymore I miss walking around the neighborhood!
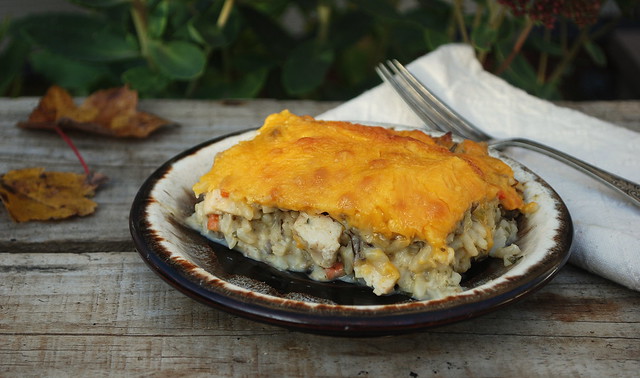
It's cooled down quite a bit here in New England so I'm breaking out the casseroles.
I just threw this together , much like I do with my soups. I did take note of what I used to make this so I could share it with you all tough. More than once I've made one of my "throw this and that in" casseroles and forget to write down exactly what I did. This time I remembered.
I used 3 very large chicken breasts when I make this but you could most certainly use the meat from a rotisserie chicken in a pinch.
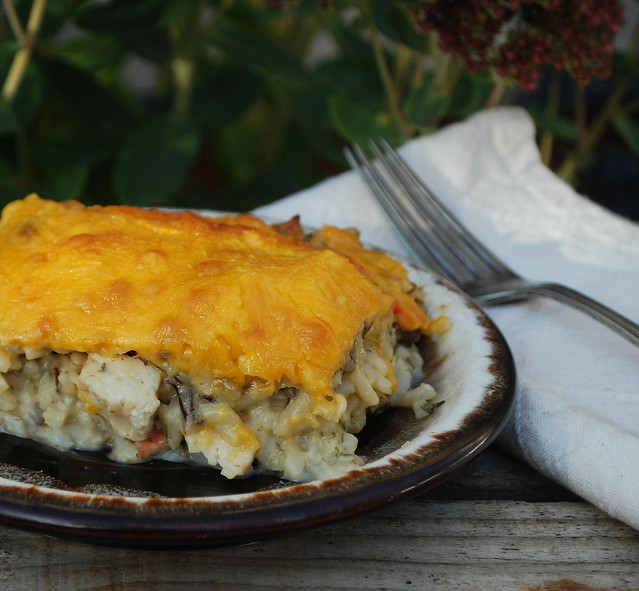
Chicken and Rice Casserole
recipe from Lisa@The Cutting Edge of Ordinary
Printable recipe
2 - 8oz boxes Uncle Ben's Wild Rice cooked according to package directions * see note
1/4 cup butter
1/4 cup flour
2 cups milk
3 to 4 cups completely cooked, cubed chicken (you can use a rotisserie chicken if you'd like!)
2 Tablespoons olive oil
1 small onion, chopped fine
2 large carrots, chopped
1 large stalk celery, chopped fine
3 cloves garlic, minced
2 cups grated sharp cheddar cheese
Melt butter in a Dutch oven or large, heavy bottomed saucepan. Blend in flour with a wire whisk, stirring constantly, cook for 1 or 2 minutes or until the flour turns golden. Gradually stir in the milk. Cook over medium heat, stirring constantly, until thickened. Remove from heat.
Sauté the onion, carrots, celery in the olive oil until tender. Add in the garlic during the last few minutes.
Add the sauce, rice and chicken to the veggie mixture and stir to combine. Spread in an a greased 9 x 13 baking dish. Sprinkle the shredded cheese evenly over rice mixture. . Bake uncovered for 30 to 45 minutes or until cheese is melted and bubbly. Let sit for 10 minutes before serving.
Note* See the note on the bottom of the Uncle Ben's box when you are making 2 boxes at once. There are instructions for making 2 boxes.